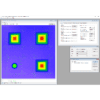
Easy-to-handle and automated geometric calibration of your microscope with 3D calibration samples. 3D measurement data of marker-based calibration structures are automatically analysed and compared to the provided reference data. Calculation and documentation of scales, shear factors and remaining non-linear errors in all three spatial dimensions.
* One Step: Simultaneous processing of lateral and vertical calibration parameters (scale, shear)
* One Model: Determination of coupling (shear) between vertical and lateral axes
* One Click: Due to advanced image processing and statistical methods, calibration is extremely efficient and accurate
* One Reference: Software and calibration structures are suitable for different measurement devices
[The calibration structures and the calibration software were developed by m2c].
Applied calibration parameters
* 3 scale factors for the co-ordinate axes
* 3coupling factors for coupling between all co-ordinate axes (orthogonal deviation)
* Remaining non-linear errors in all three spatial dimensions
Features and functions
* Automated calibration due to advanced image processing algorithms, including detection of sample orientation and sub-pixel co-ordinate measurement
* Reliable processing of calibration parameters due to advanced statistical methods (including leastsquares methods and outlier detection)
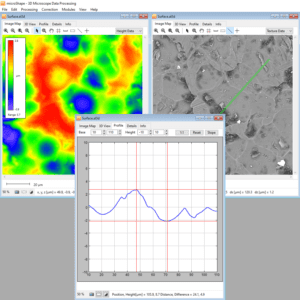
* Mathematical and graphical accuracy analysis
* Results and settings are saved into a project file
* Integrated export functions for PDF protocol files or for ASCII data (for further use)
* Calibration parameters are saved for data correction of all further measurements performed by the customer’s microscope
* Different SPM/3D file formats and import filters for ASCII and image data files are included


